Here’s 5 tips for touching up your travel video like the professionals.
After countless hours of shooting and editing together your video footage, It’s time to move the production into the colour grading suite and begin making those clips shine. The colour grading stage is one that should never be overlooked, even if you’re shooting on a DSLR.
So, here are 5 handy tips that I’ve learnt along the way to help improve your colour grading techniques and make your video content sing.
1. Shoot Flat and Reintroduce
 Although it may be an obvious one, this is the most important place to start…
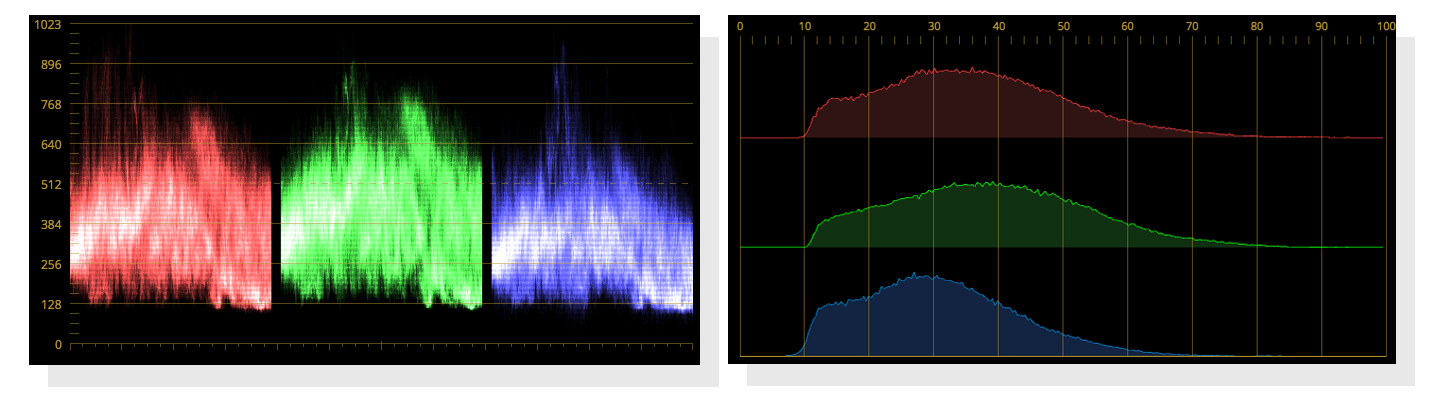
When shooting your video content keep a close eye on your video scopes, it is always a good idea to shoot your images with a flat picture profile to retain as much information as possible. You wan to make sure you capture all highlights and lowlights without over or underexposing. This will result in a flat image, a blank canvas for you to begin your colour grade, to reintroduce and creatively enhance your content.
2. Different colours can affect your audience.
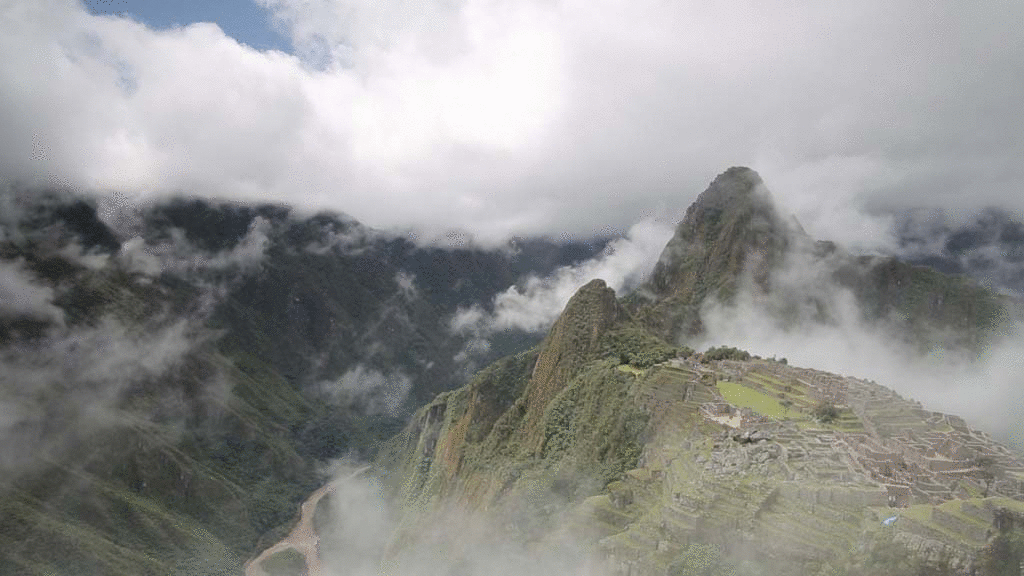
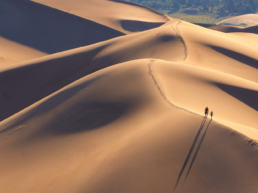
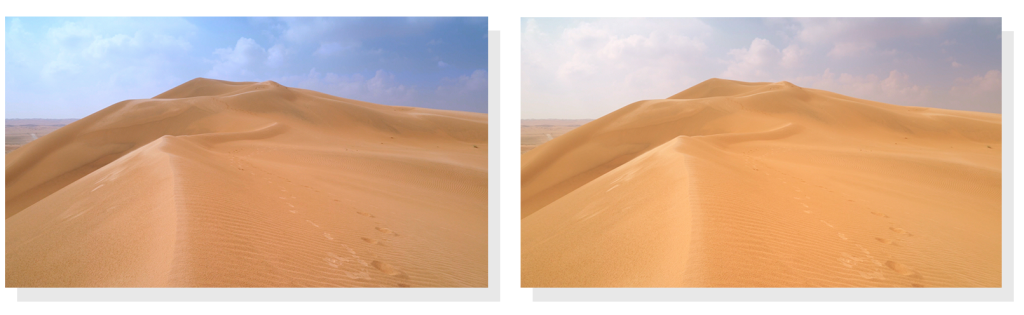 When adjusting your lift, gamma and gain colour controls remember that even the slightest adjustment can change your audience’s feelings towards the frame. An adjustment into the colder tones can make the audience feel like the clip is cold and isolated, while warmer tones evoke feelings of energy and sunny days. You want to examine at your colour grade in context with the clip, for example if you have a windswept desert, highlighting cold tones may conflict with the audience’s perception of the shot and throw their attention.
3. Don’t be afraid to use a few power-windows.
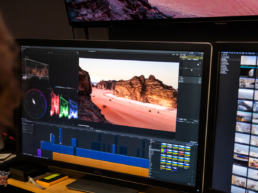
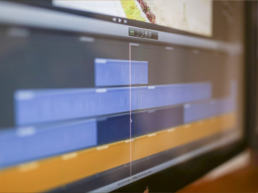
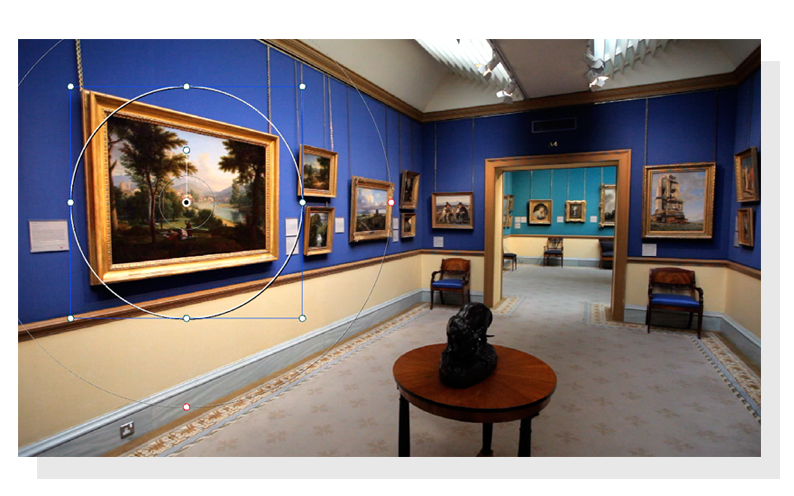 When colour grading your shots, remember that the audience’s eye will be wandering over your frame, it is your job to help guide the audience’s attention to key parts of the image. Whether it be the grand canyon or a painting in a gallery, using a few power windows to boost the exposure, contrast or saturation can help guide the viewer attention to the more interesting parts of your frame.
4. Don’t fight the image.
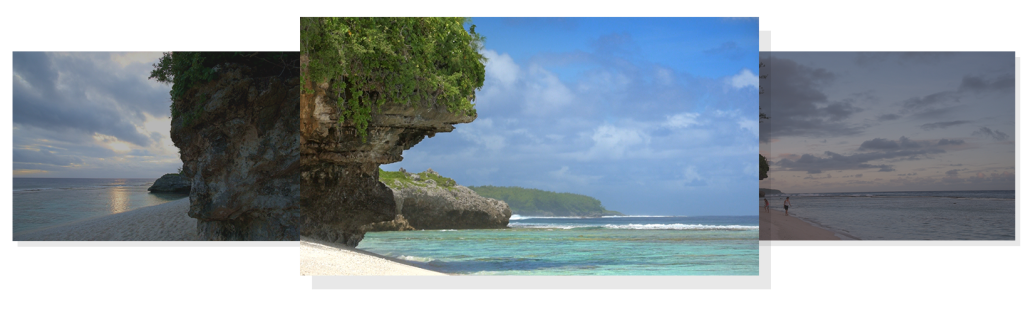 One easy trap to fall into is overgrading or fighting your image too much. Sometimes if your shot is too underexposed or shot at too high of an ISO it can be hard if not impossible to save the image using colour correction/grading and denoise tools. If your images were captured at different times of days you can try and match shots in colour grading but sometimes the way the light falls is too different and it is best to veto the shot all together.
5. Remember to trust your eyes… and the scopes.
Of all the tools you have at your disposal, there is none better than your eyes. After you have carefully adjusted your exposure and colour tones the best way to see if your new grade is working is by watching your clips back and observing how the sequence looks as a whole. Keep in mind that if it looks strange to you, it may look strange to your audience. Remember for a guideline you can always to refer to your video scopes. If you have wild jumps appearing in your parade or histogram it could be an indication that your image exposure or tones are not matching.